Before you begin
Setting up SSO is a joint process between you and Guardhouse.What Guardhouse provides
Guardhouse supplies the values you need for the SAML configuration:- Identifier (Entity ID)
- Reply URL (Assertion Consumer Service URL)
- Sign-on URL
- Logout URL
What you provide to Guardhouse
Send Guardhouse the following details:- Your Microsoft tenant ID. In the Azure portal, search for Tenant ID within Microsoft Entra ID.
-
Your preferred company name. Guardhouse uses this in the custom sign-on URL for your application.
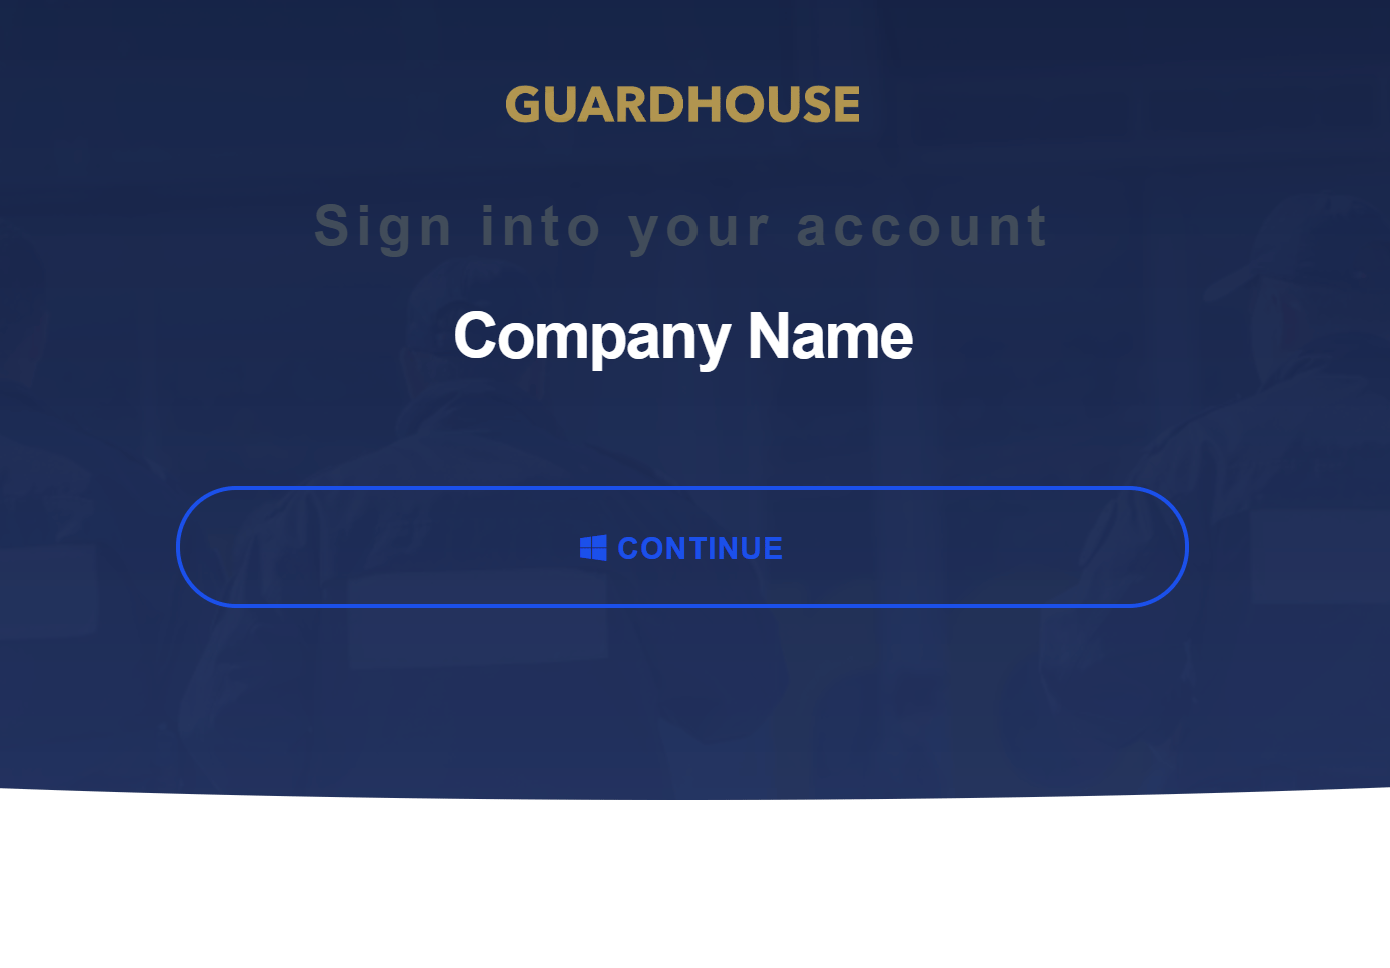
The company name appears on your custom Guardhouse sign-in page.
-
Your preferred domain. This is the domain your users enter when they sign in to Guardhouse.
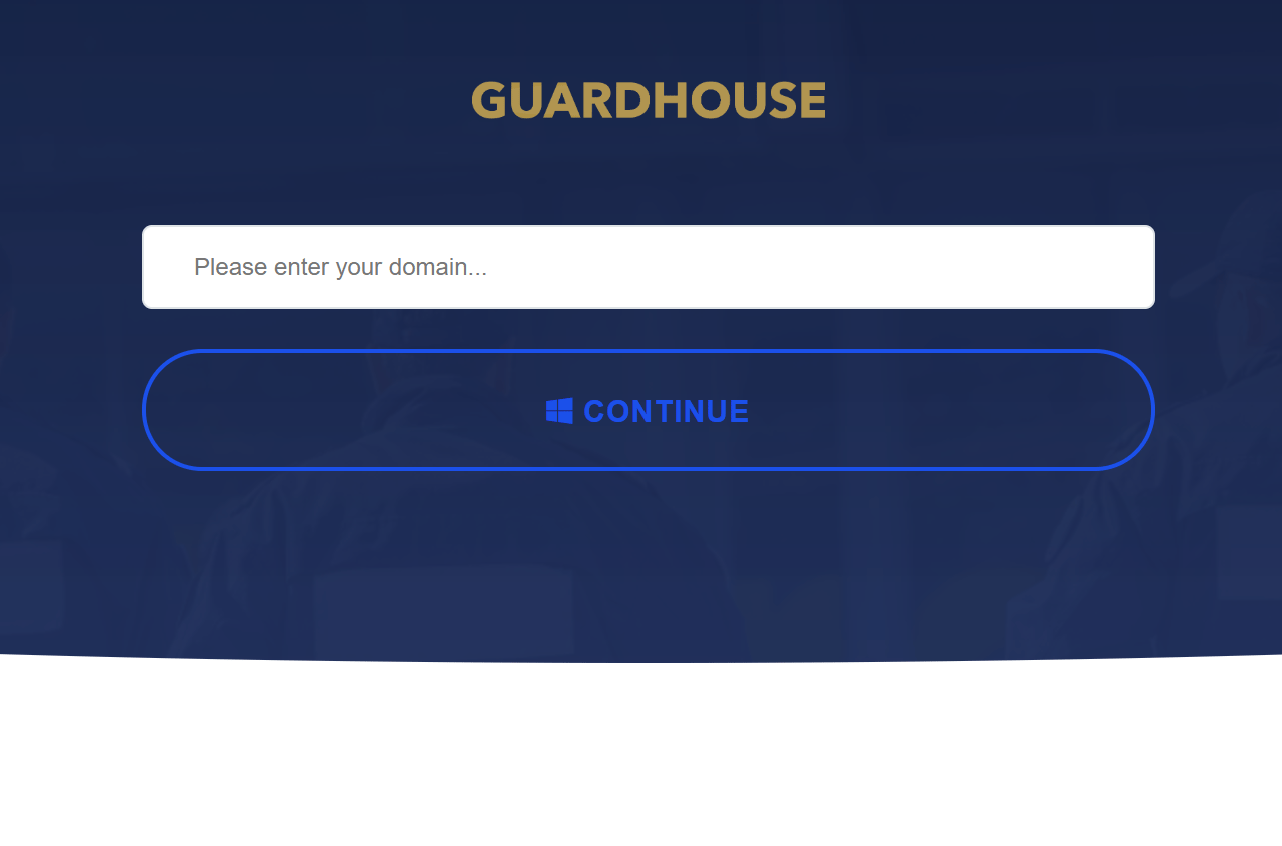
Users enter your domain on the Guardhouse sign-in page.
- Your security groups and their company entities (multiple-company setups only). Provide a list of your Azure security groups and the Guardhouse company entity each one maps to. See Multiple-company setup.
Step 1: Create an enterprise application
- Sign in to the Azure portal with an administrator account.
-
Under Azure services, select Enterprise applications.

-
Click New application.

- Click Create your own application.
-
Enter a name for the application, for example
YourApp SSO. -
Select Integrate any other application you don’t find in the gallery (Non-gallery).
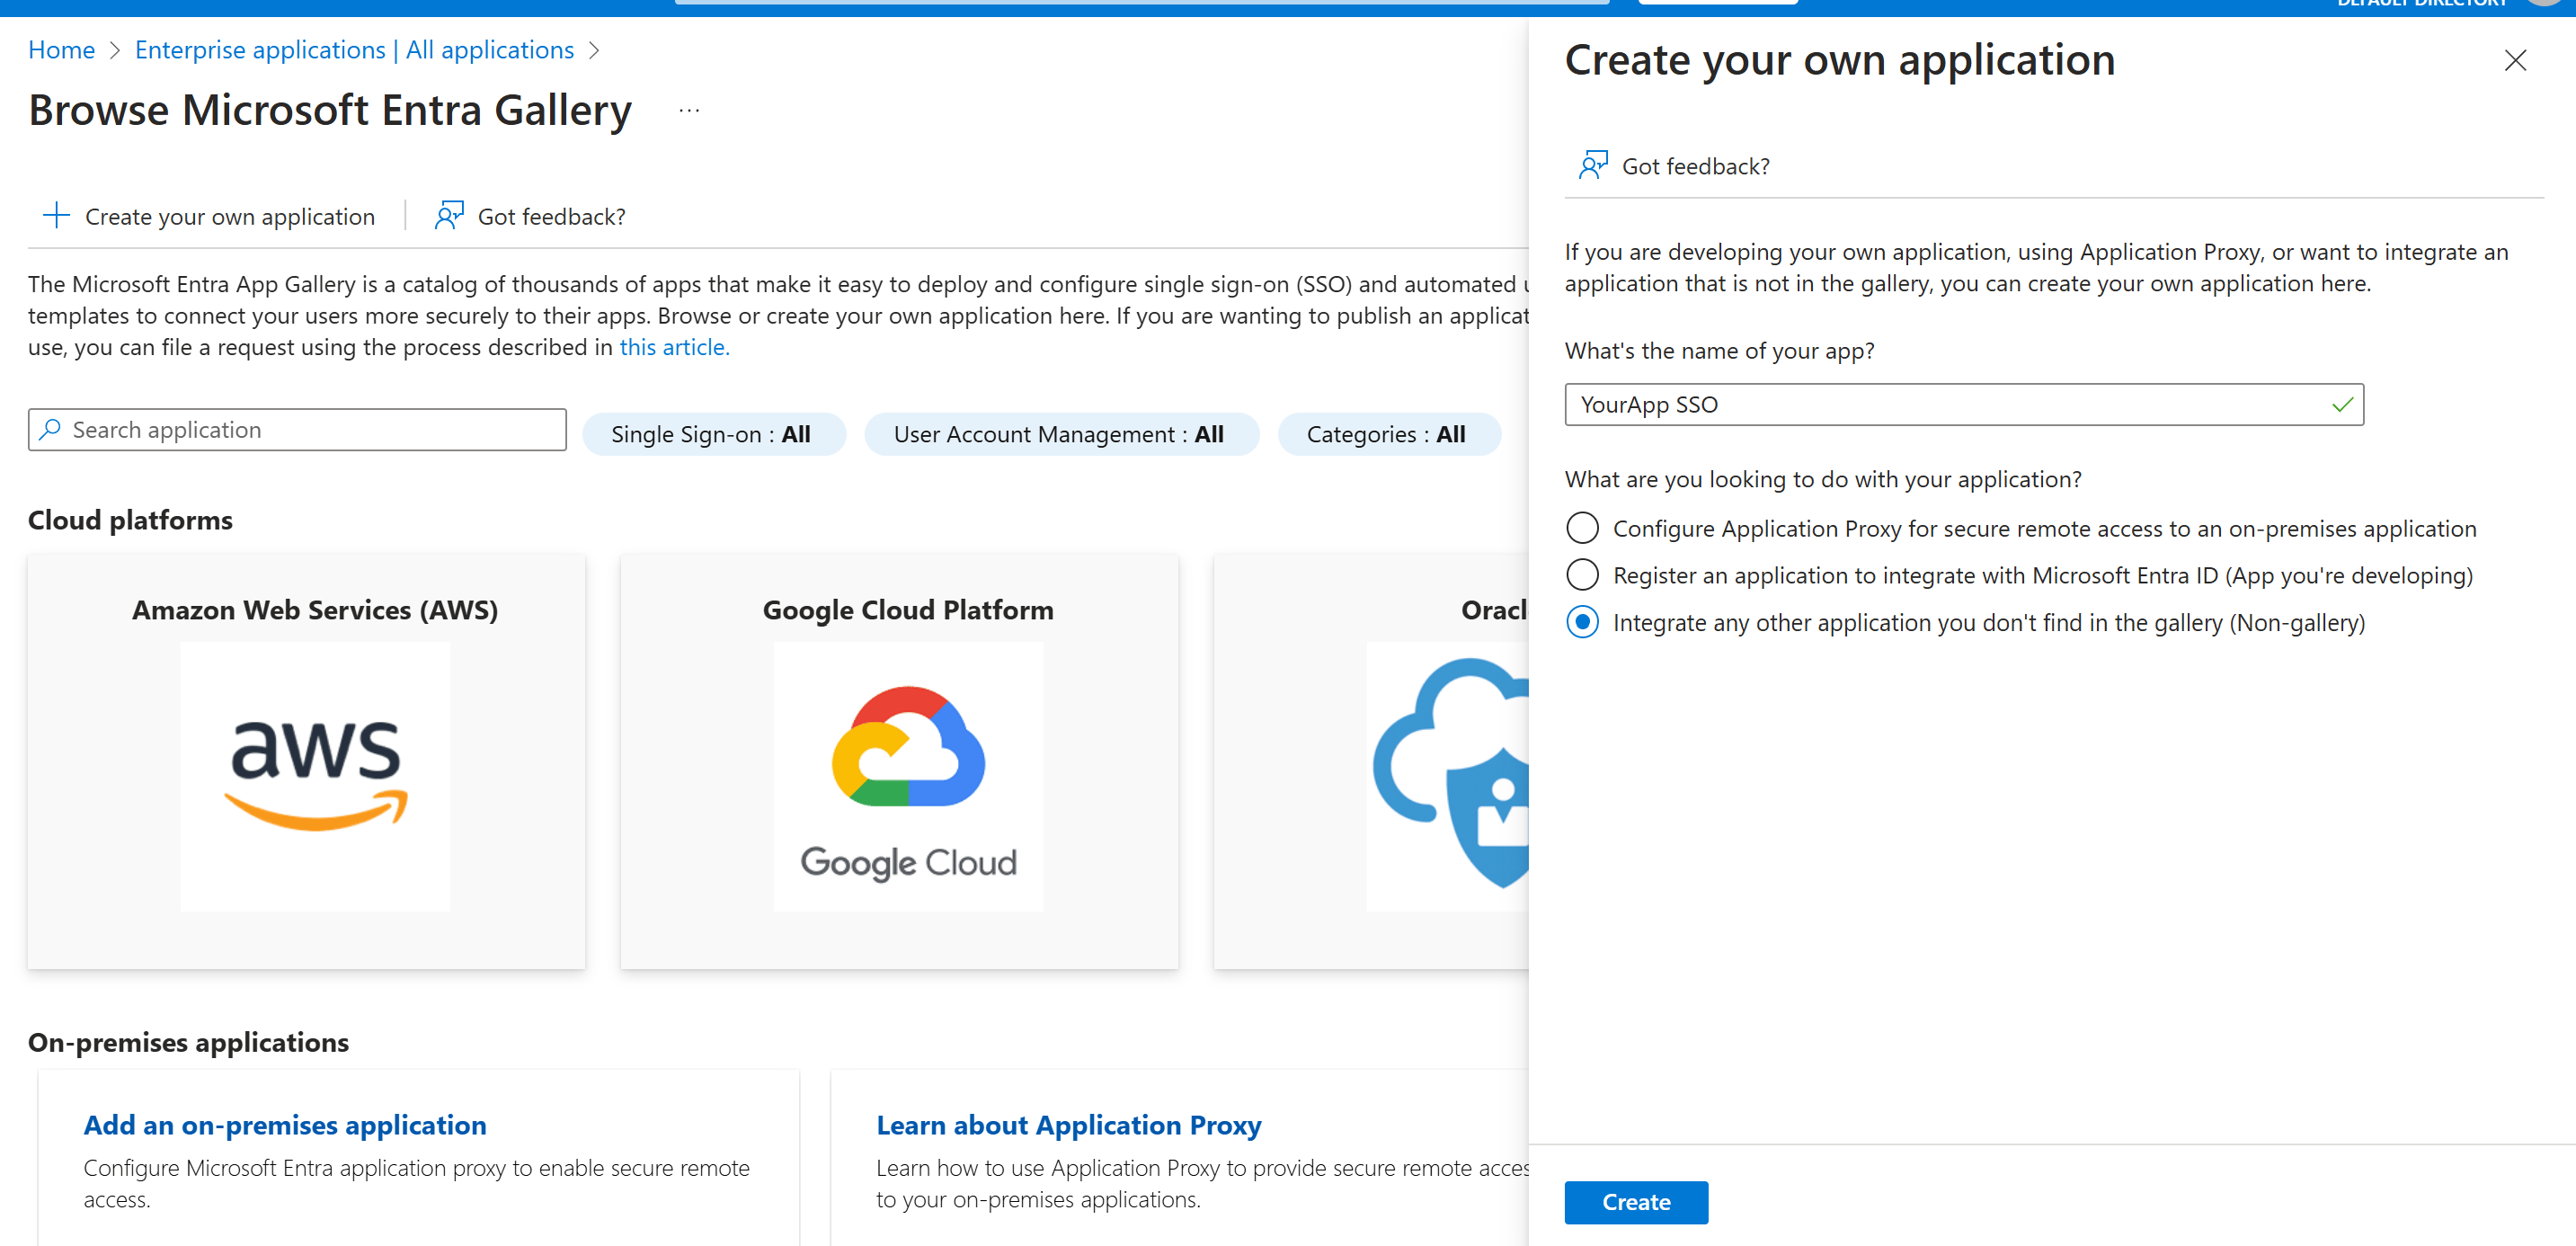
- Click Create.
Step 2: Configure SAML single sign-on
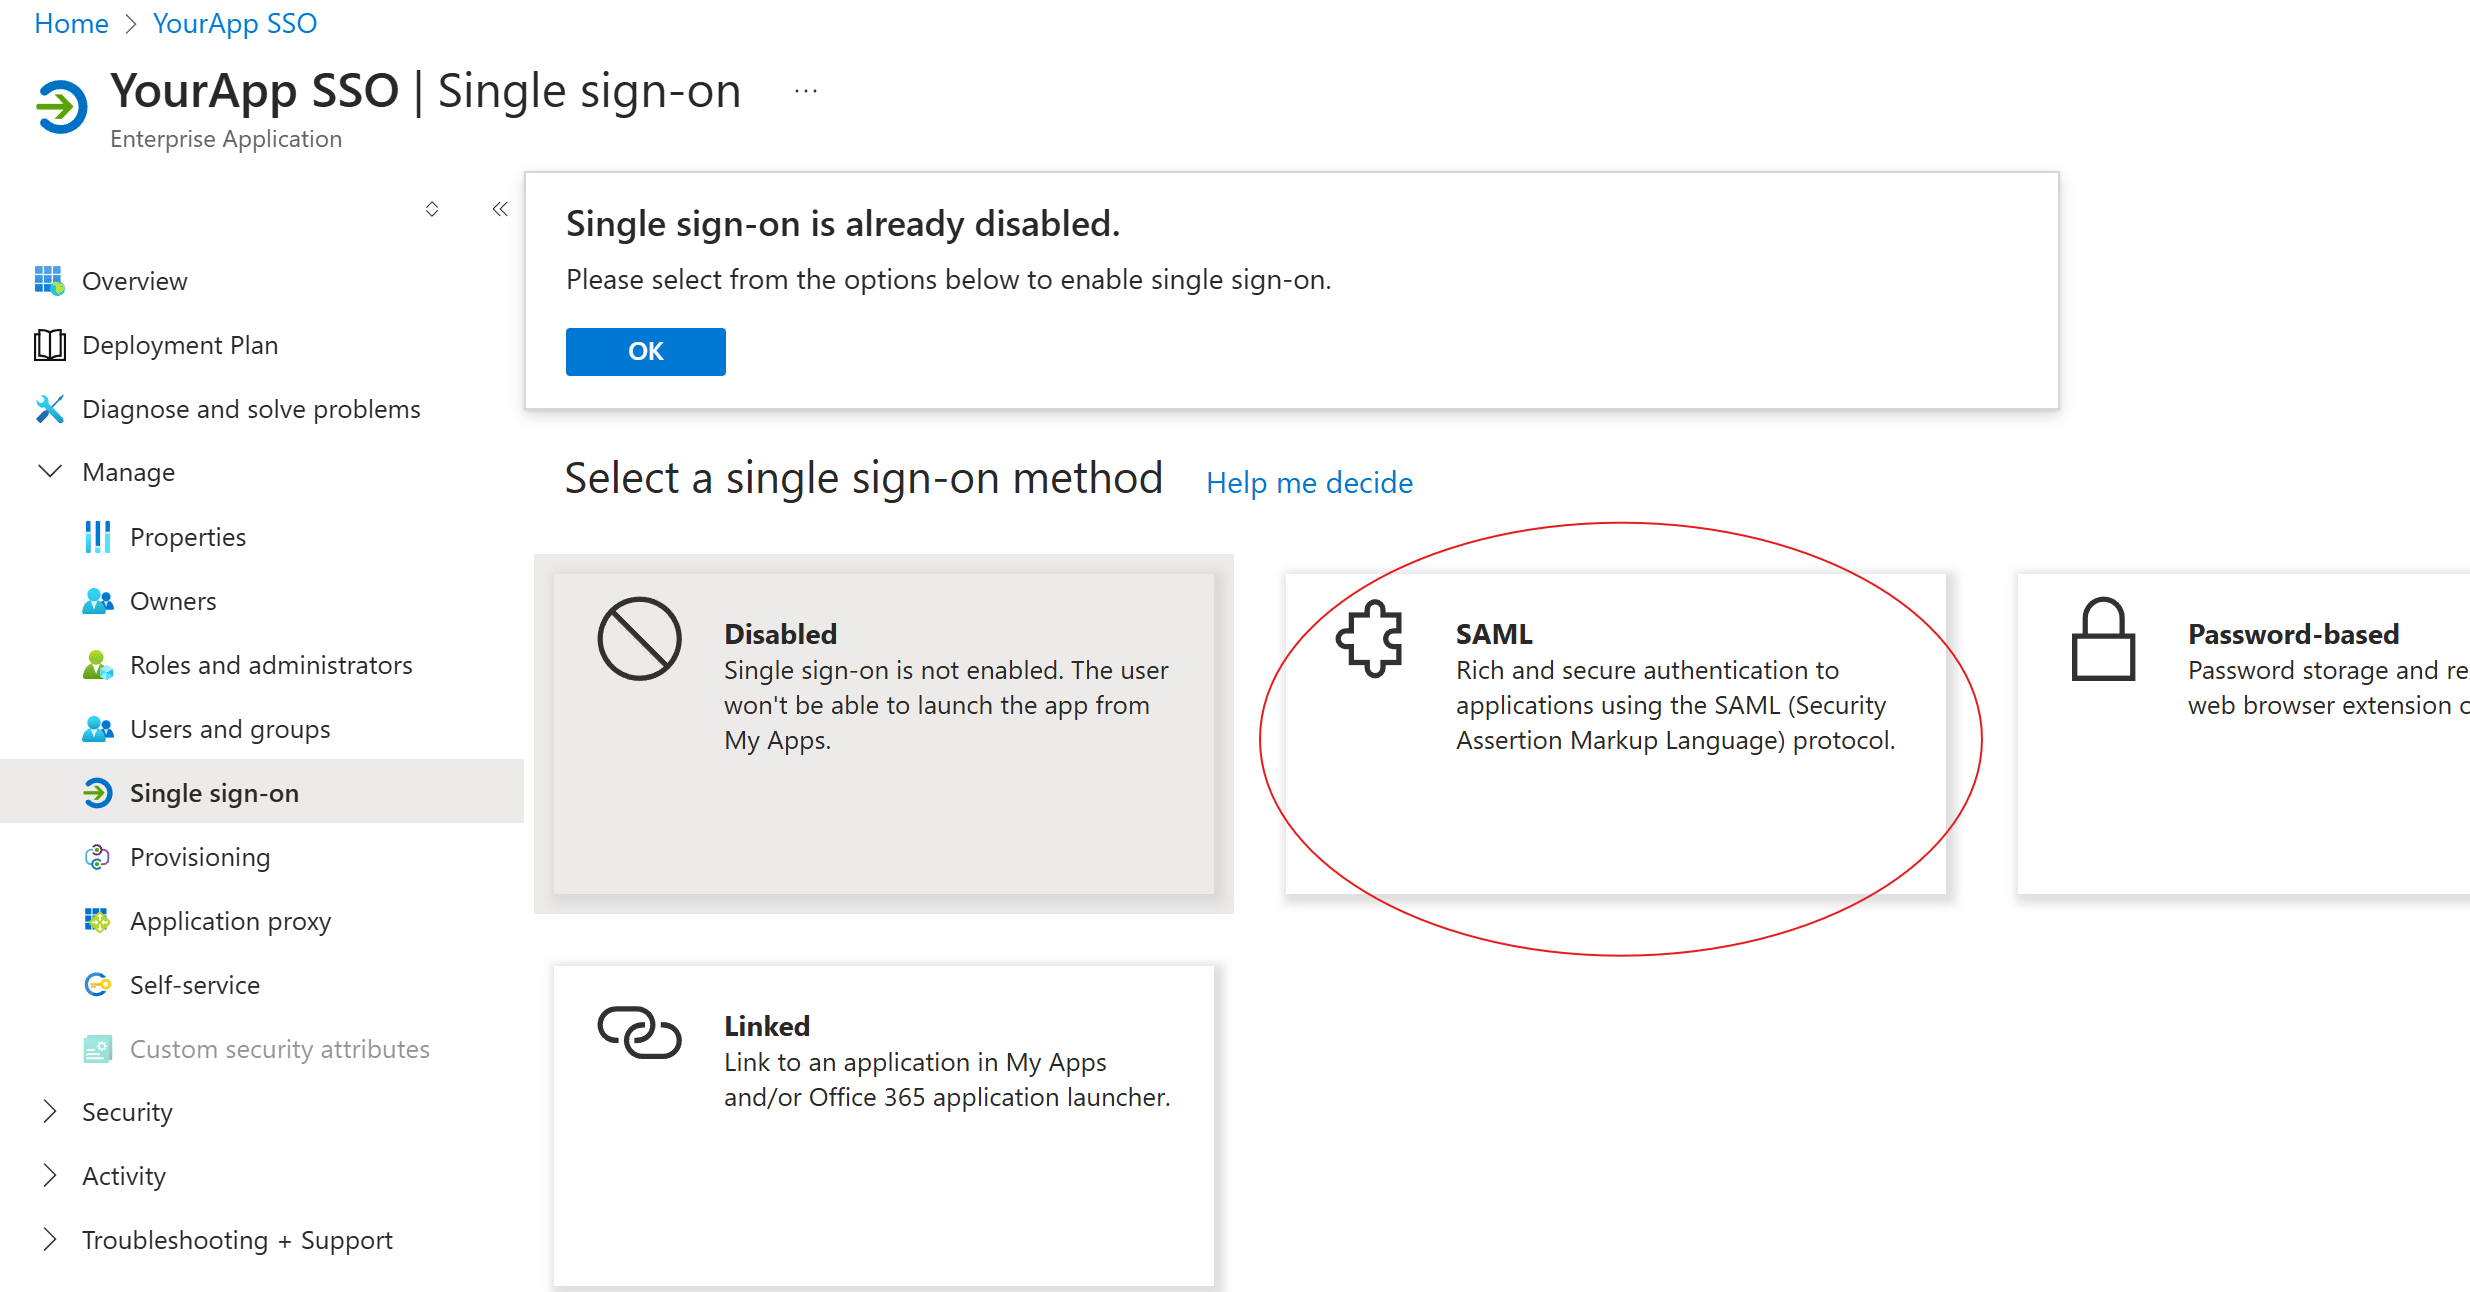
- In your new application, select Single sign-on.
-
Select SAML as the single sign-on method.
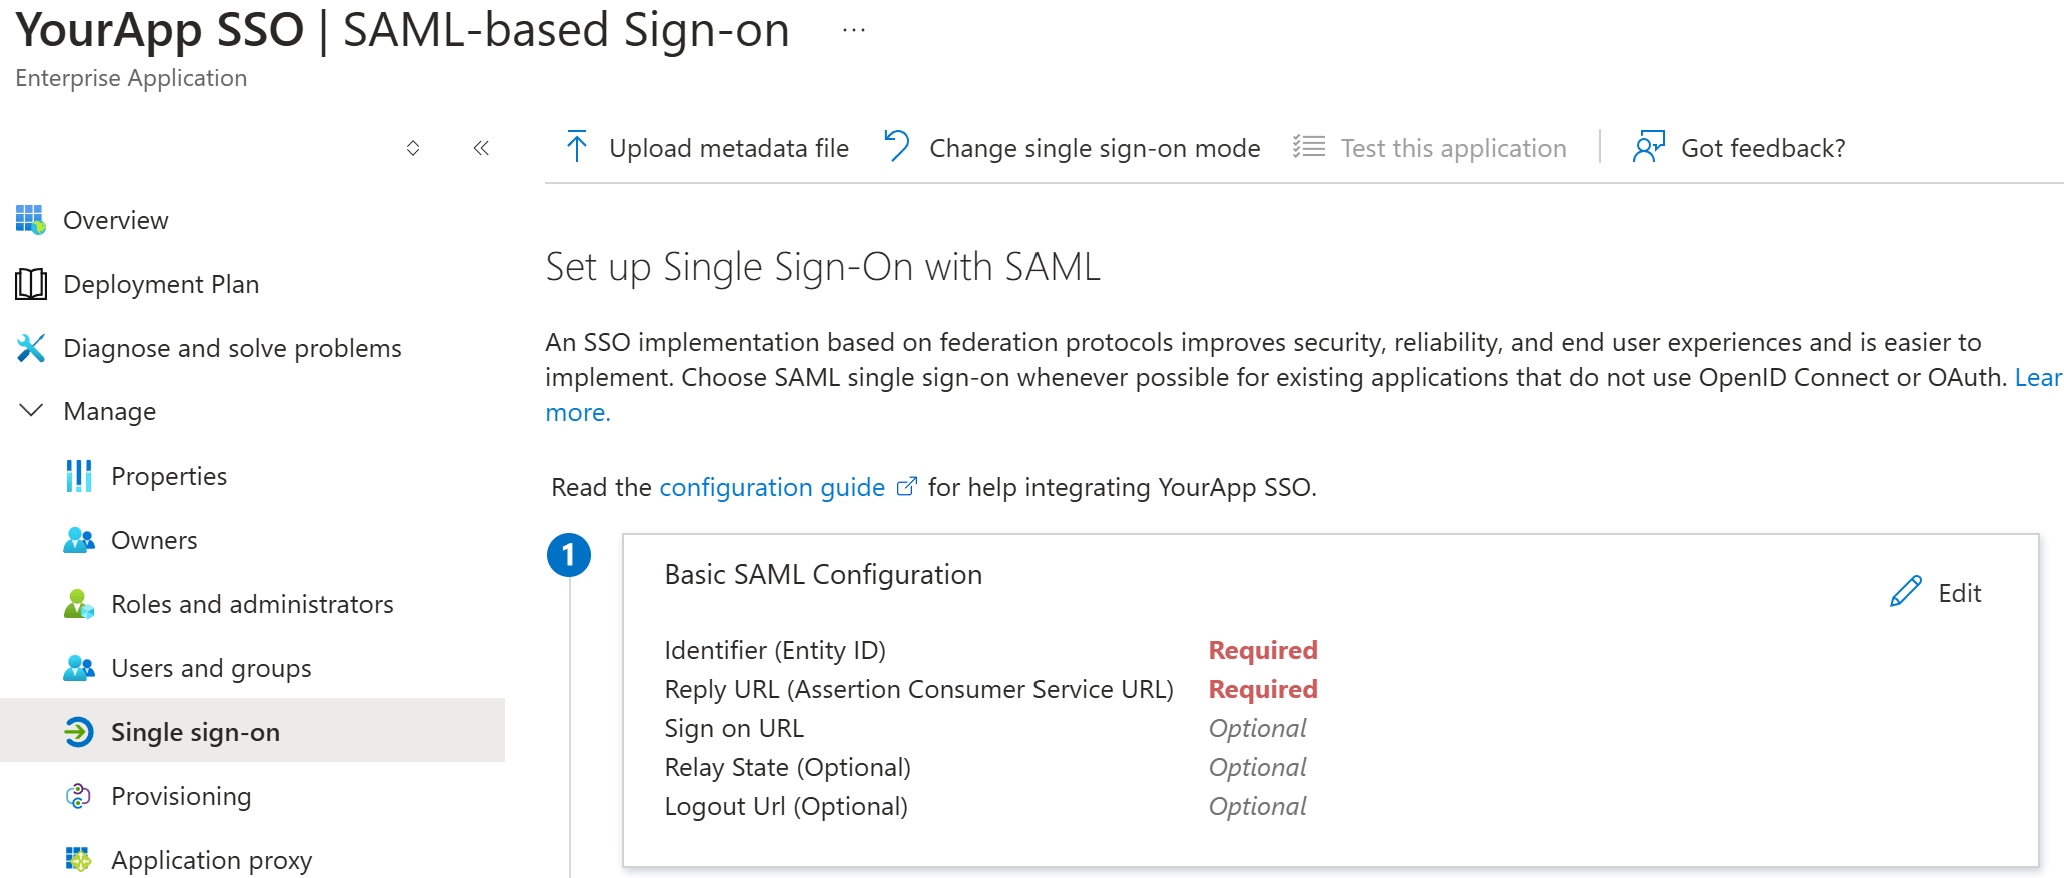
- In the Basic SAML Configuration section, click Edit.
-
Enter the values that Guardhouse provided:
- Identifier (Entity ID): the unique identifier for your application.
- Reply URL (Assertion Consumer Service URL): the endpoint that receives SAML assertions from Microsoft Entra ID.
- Sign on URL: the direct sign-in URL for your application.
- Logout Url: the endpoint users are redirected to after they sign out.
- Click Save.
Leave the other sections on the SAML-based Sign-on page (Attributes & Claims, SAML Certificates,
and Set up) at their default settings. For a multiple-company setup, you add a group claim to
Attributes & Claims in Step 3.
Step 3: Assign users and groups
Choose the setup that matches your organization:- Single-company setup: all your users belong to one Guardhouse company.
- Multiple-company setup: your users belong to different Guardhouse company entities, and Guardhouse uses Azure security groups to map each user to the right one.
Single-company setup
- In the Azure portal, open your enterprise application.
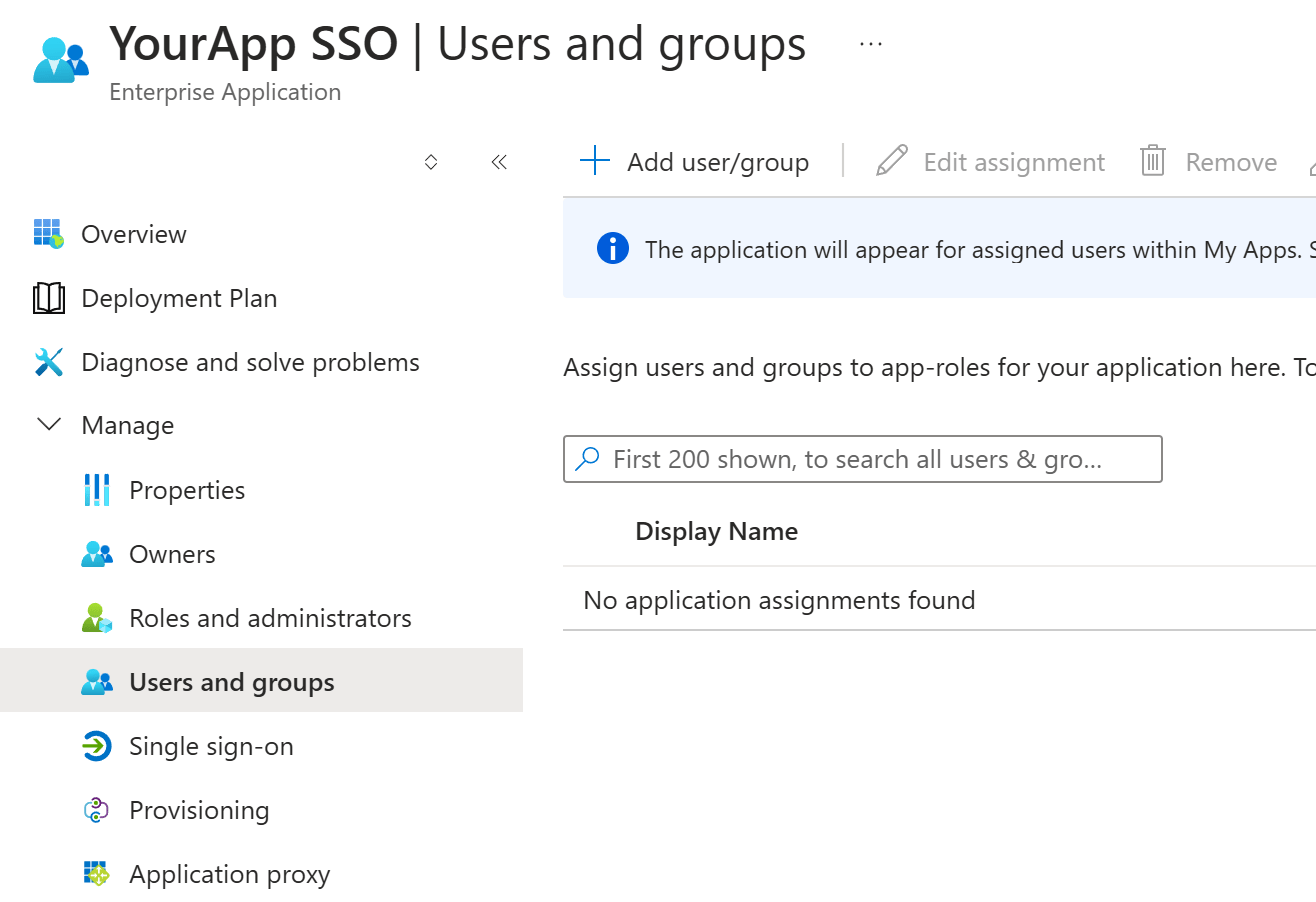
- Select Users and groups.
-
Click Add user/group.
- Select the users or groups that should have access to Guardhouse.
- Optionally, assign a role if your application uses role-based access.
- Review your selections, then click Assign.
Multiple-company setup
Create security groups
- Create a security group for each company, either in Azure or on-premises.
- Add the user accounts to their respective groups.
- Send Guardhouse the list of groups so they can map each one to the correct company entity.
Assign the groups to the application
- In the Azure portal, open your enterprise application.
- Select Users and groups.
-
Click Add user/group.
- Select the security groups you created.
- Optionally, assign a role if your application uses role-based access.
- Review your selections, then click Assign.
Add a group claim
The group claim tells Guardhouse which security groups a user belongs to.-
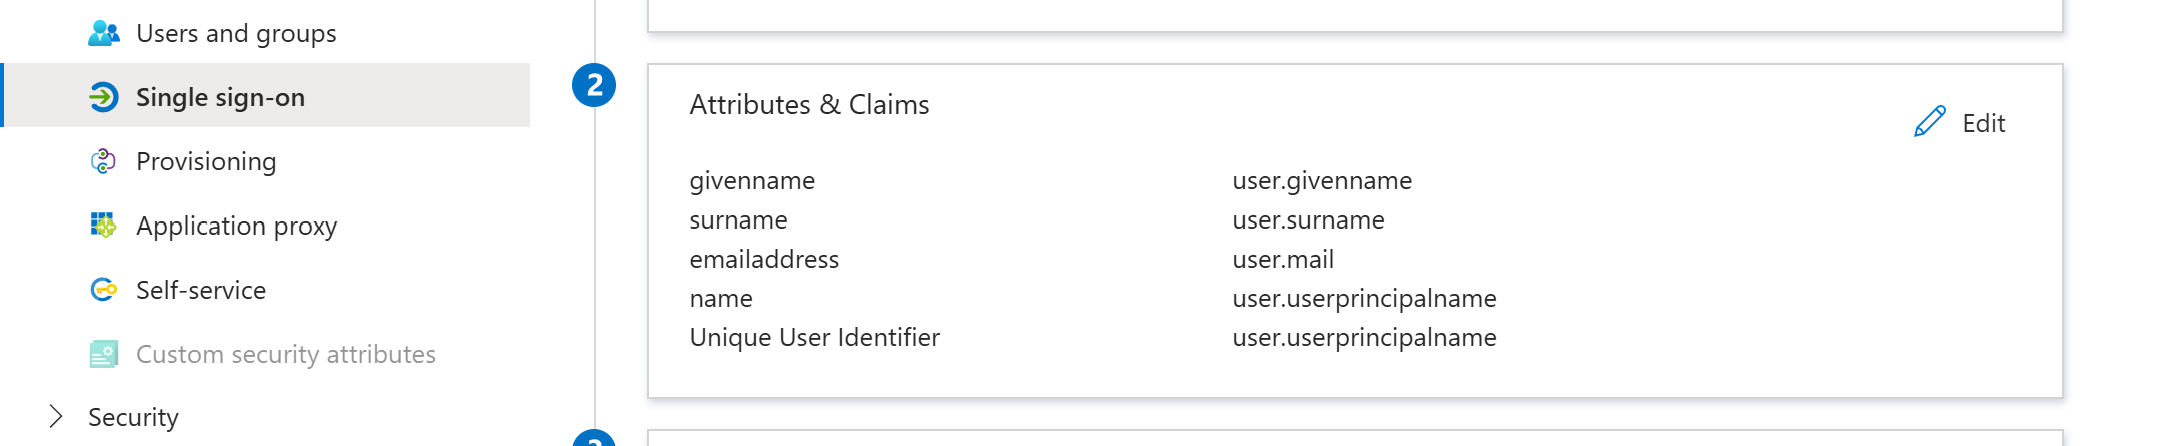
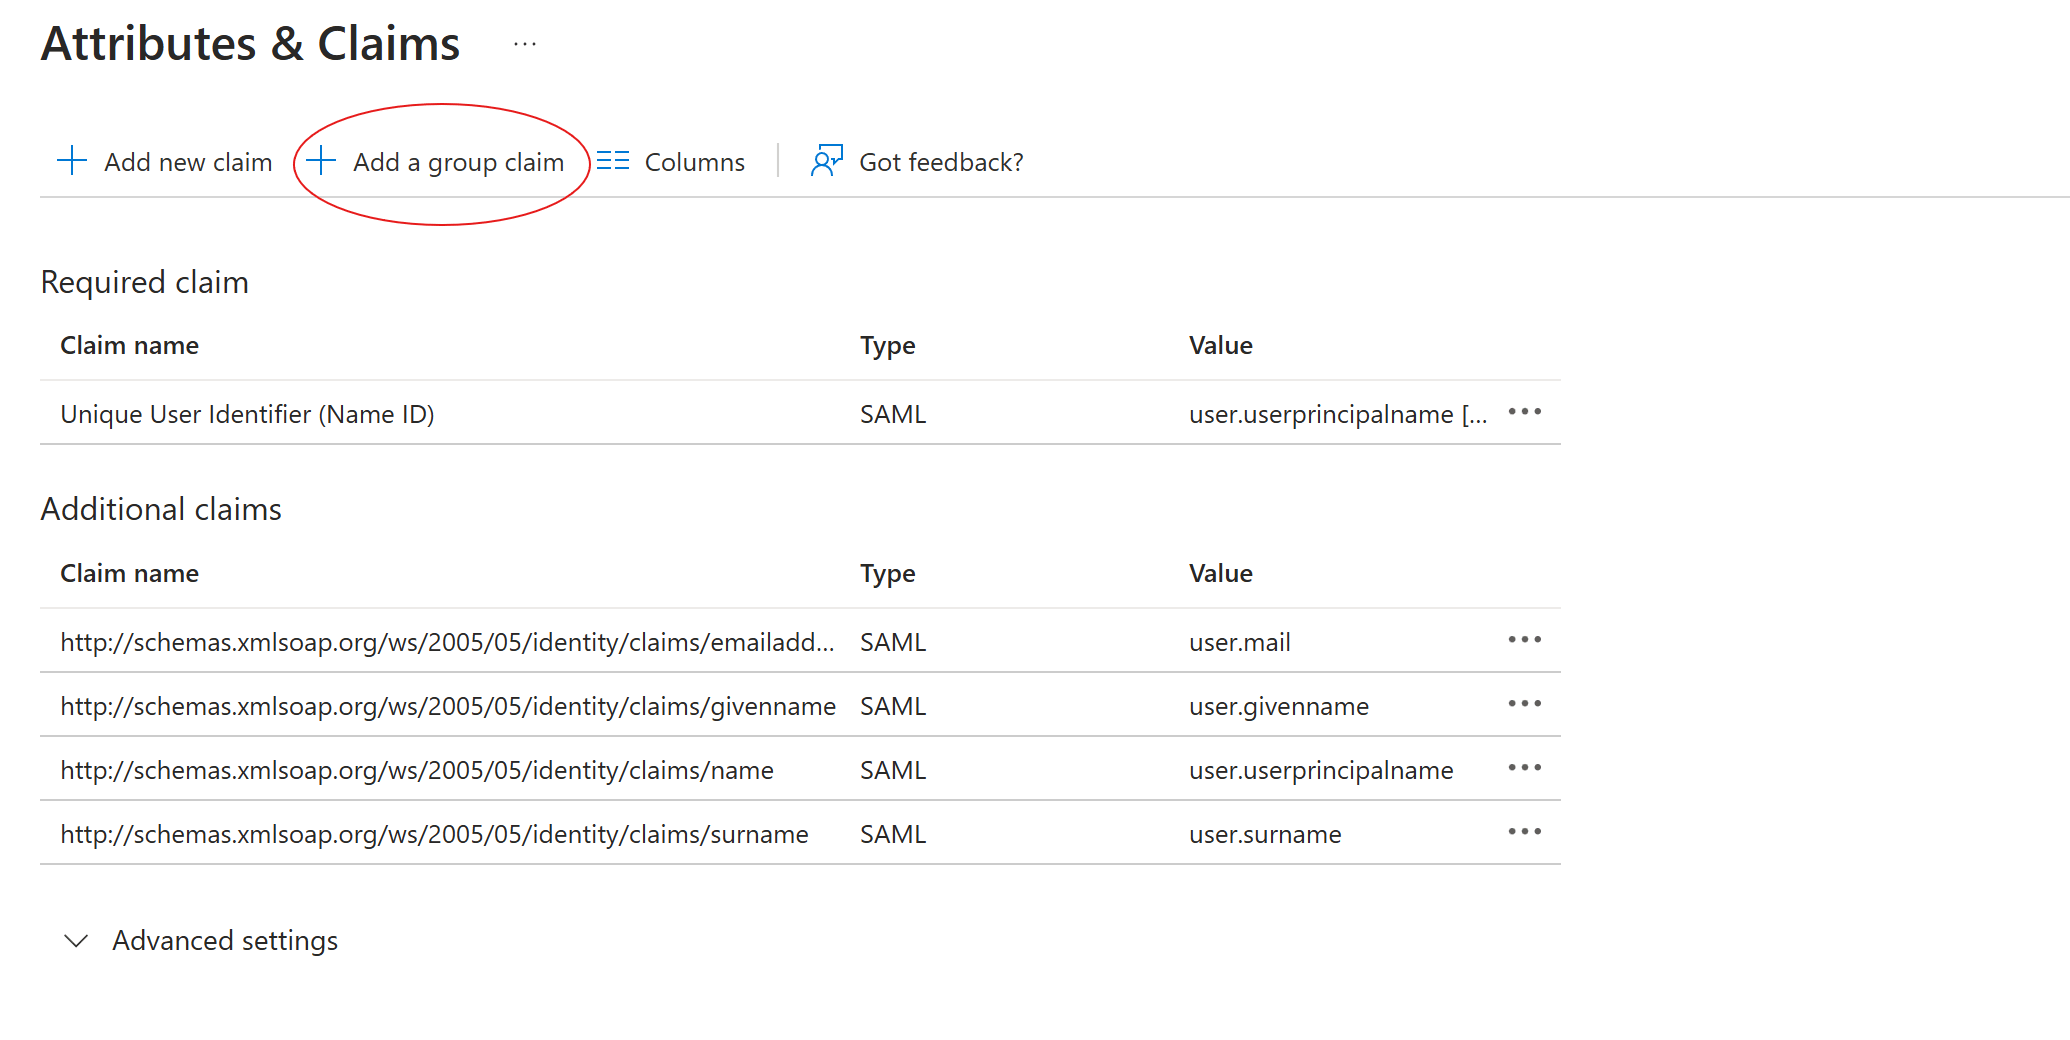
Select Single sign-on, then click Edit in the Attributes & Claims section.
-
Click Add a group claim.
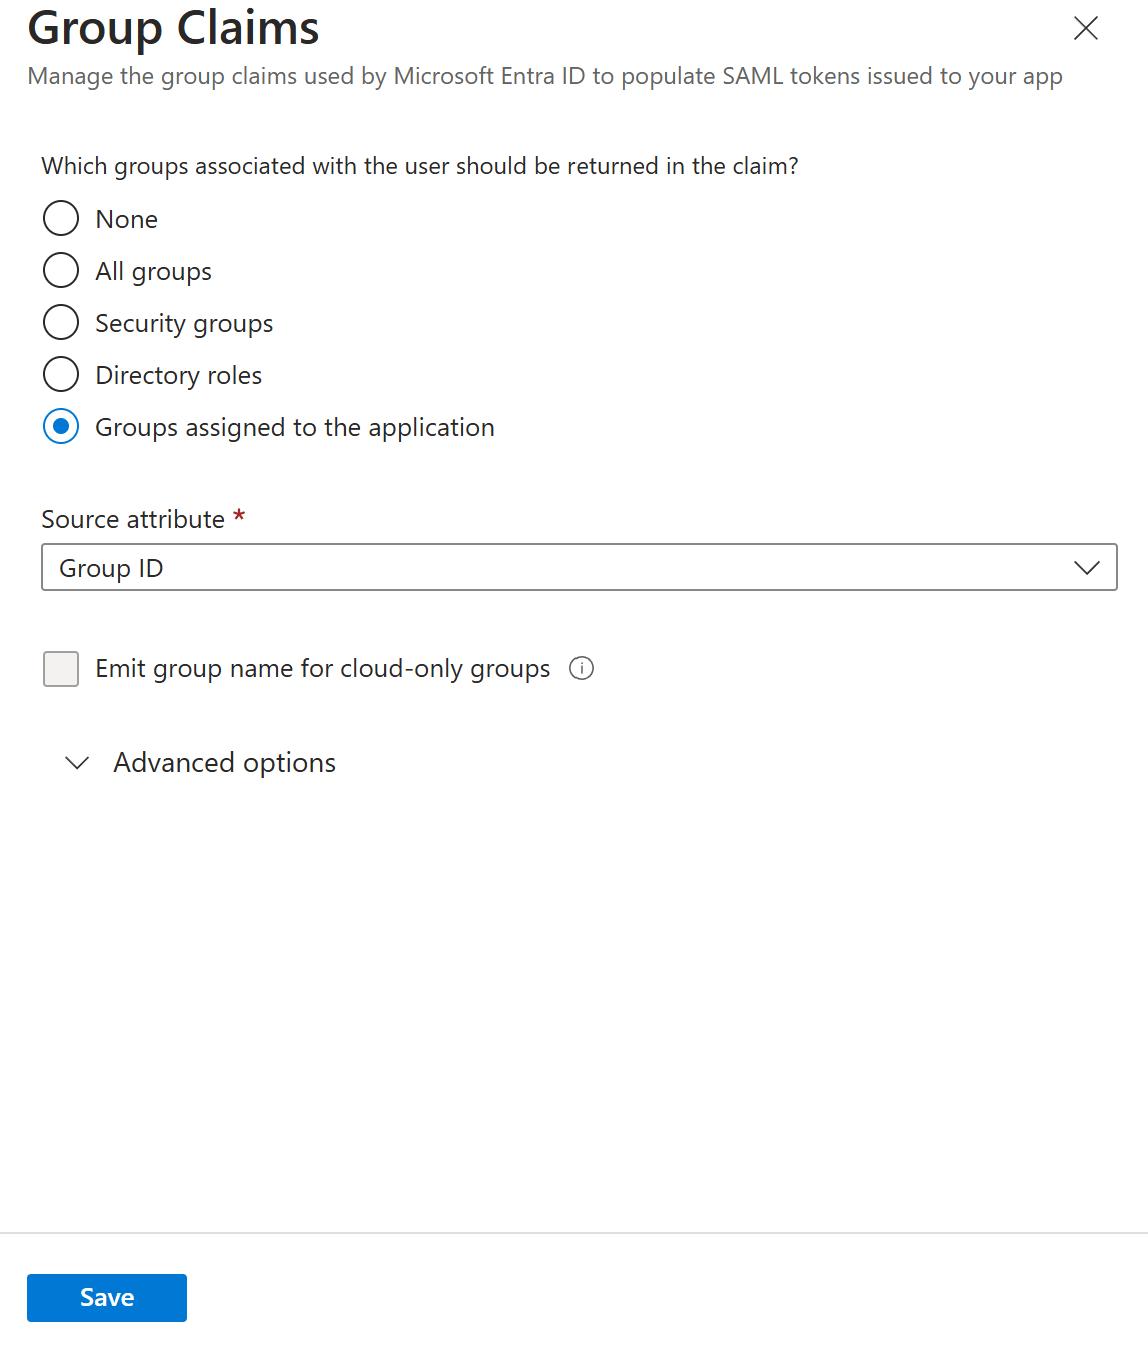
- Under Which groups associated with the user should be returned in the claim?, select Groups assigned to the application.
-
Click Save.
-
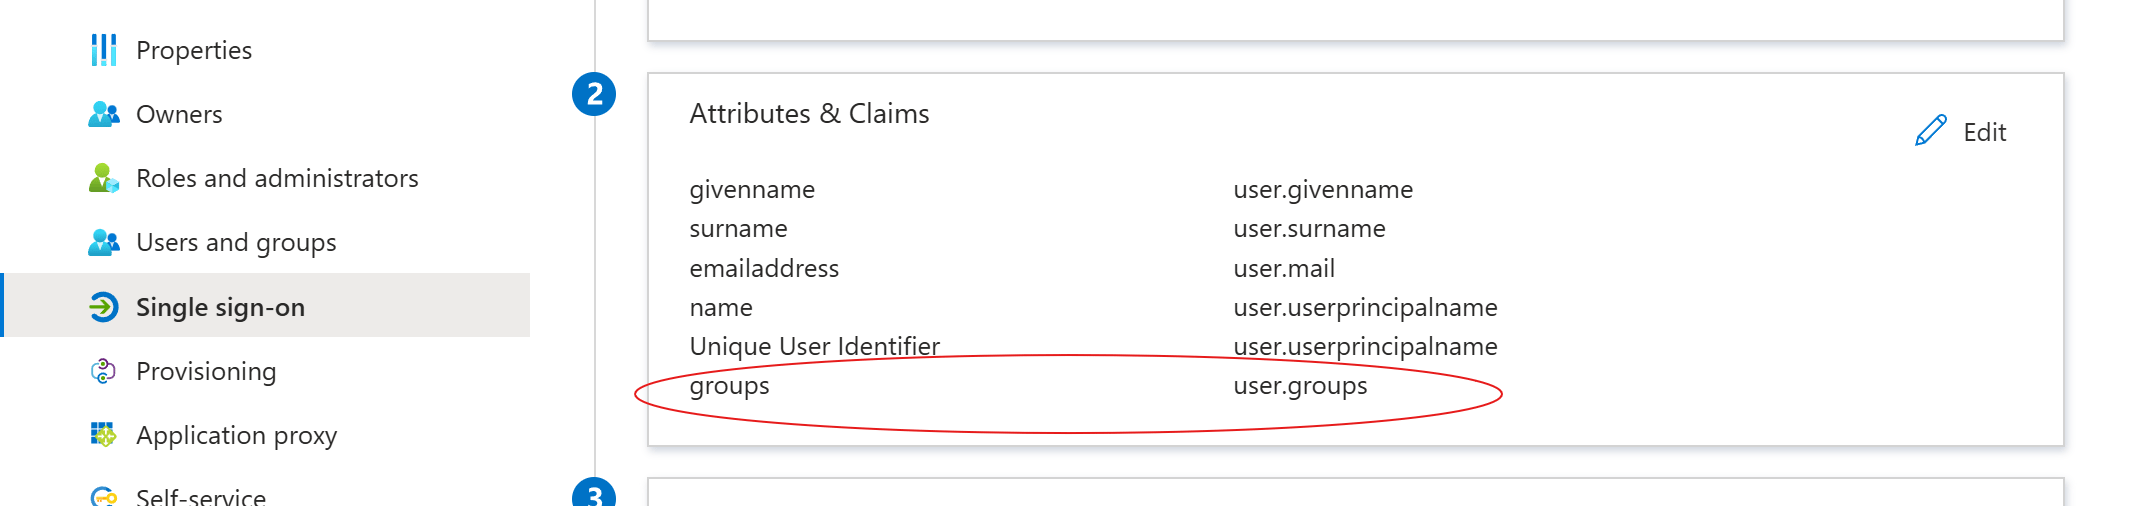
Confirm that a
groupsclaim now appears in the list.The claim also appears in the Attributes & Claims summary on the SAML-based Sign-on page.![Attributes & Claims page listing the new groups claim with the value user.groups [ApplicationGroup]](https://mintcdn.com/guardhouse/tuwl4ruFPg44mn-F/images/guides/sso-saml/group-claim-added.png?fit=max&auto=format&n=tuwl4ruFPg44mn-F&q=85&s=38166cb2db269d87ecf5d4bf1f18f2fb)